|
Hello all, and welcome back to my embroidery journey. This weeks project was rough. I struggled a lot with it and I am still not 100% pleased with the outcome, but it is all about learning from mistakes and moving on. I came across this TikTok linked here, as I was scrolling through before bed, like I usually do. In the video the girl traces her design onto a piece of paper and then attaches the paper to the shirt to follow the outline on there. When she is done, she simply wets the paper and peels it off, revealing her design. I thought "wow, this could be truly revolutionary". The next day, I found a design that I fell in love with and wanted to try immediately. 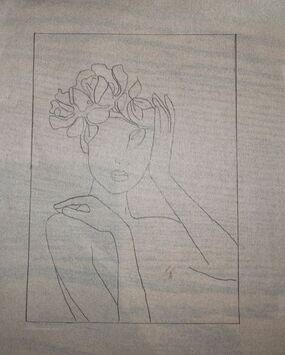 I traced the photo above onto a piece of paper and began puncturing small holes on the outline as a guide for my needle. I was so excited! Then, I had to pin the picture to my shirt and place the hoop on my shirt to hold the fabric tight. 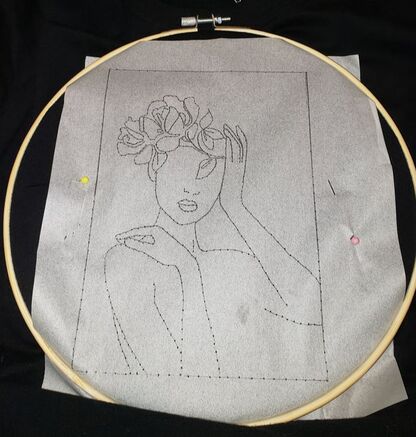 Once it was all set up, I began embroidering. I did the border and her body with white floss. Her lips a magenta pink, the leaves a light green and the flowers a light pink. It was all starting to come together. I thought if this really works, this might be my new method for embroidering the harder designs that I have been struggling with. I used a simple backstitch with the stab method that I learned from this video linked here. Once my masterpiece was done, it looked so good. I had perfectly straight lines with good stitches, now it was time to wet/peel the paper. 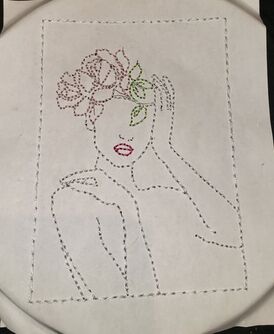 When I began to peel the paper, the problems began arising. The paper I had used was far too thick to peel off without loosening my stitches. Which, of course, I did not know when I began. I kept wetting it, and wetting it, crossing my fingers and hoping for a good outcome. When all the paper was peeled off, it looked horrible! I had stitches falling out everywhere and was completely disappointed with the outcome. 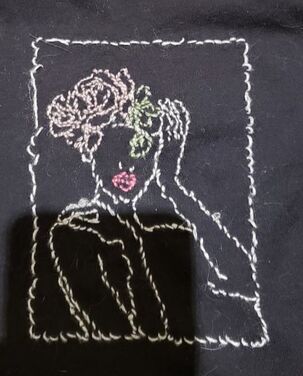 I began reading the comments on the original TikTok and discovered that some people had suggested using a type of paper that instantly dissolves when it comes into contact with water. A lot of people have used it for embroidery. I started to search for the paper on Amazon and found some! I ordered it up and it came relatively quickly. It is called "Smartsolve Water-soluable Translucent paper" pictured below. I wanted to try this design again as I really liked it, this time with the soluble paper. I peeled out all of the stitches on my shirt in order to start again.  I used the exact same method. I traced the photo onto the paper and then pinned it to my shirt with the embroidery hoop on top. I was hopeful, yet again, that this time would truly work. I spent about 4 hours embroidering it the second time from start to finish. The only problem with the soluble paper is that it is extremely thin and rips very easily, so it did take a bit longer because of that. When I was finished, I put the shirt in the sink filled with water and watched the paper quickly dissolve, leaving behind my design. I was much happier this time around. 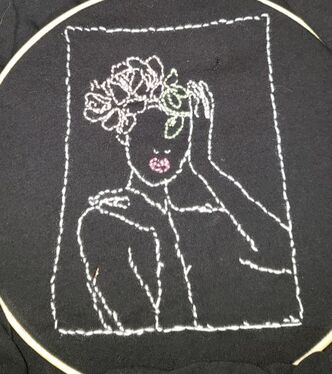 The picture above is the final finished product. As you can see, there are a few misplaced stitches, but overall I am happy with the outcome. This weeks project really discouraged me, as I thought I maybe wasn't capable of embroidering. I did not give up even when I had to completely redo my design. It was definitely a challenge, but I am still looking forward to next weeks project.
The lesson learned here is that I need to do more research before I start my projects instead of simply going off of a TikTok video, without reading the comments.
0 Comments
Leave a Reply. |
